I have purchased my laptop last year in 2009; it came with Windows Vista Business. Now using Vista was horrible for me, I din not like Vista at all, now last month I brought new Windows 7 Ultimate. I did not want to remove my vista since it was full licence version so I thought of installing my Windows 7 multiboot so that I have both Vista and 7.
So I successfully installed my windows 7 ultimate. Now during installation there were couple of errors which made my installation not complete.
So I needed to remove my Windows 7 and reload it again and this is how I did it.
Format the Partition with Windows 7
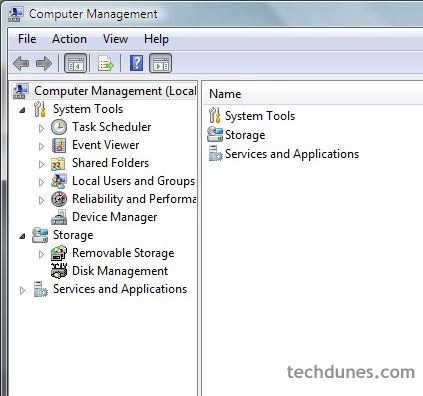
For this on Windows Vista – right click on My Computer – Select Manage – Down you see Disk Management – Select that and go to Drive /partition which has your Windows 7 Operating System.
Right click on partition and select format – select quick format and select ok.
This process removes the Windows 7 Operating System from your system. Now you need to remove the multiboot selection entry from Boot screen. For that click Start – Run – Type msconfig – a window open and you need to select the Boot tab – in that window you see an entry with Window 7.You need to delete that. That’s it.
I did this process and reloaded my Windows 7 and now its working fine.
Warning:
- Formatting drive removes all the data. So if you have any data in the drive save it / back up it first.
- Always have whole system backup before doing any critical changes in the machine, so that if anything bad happens you can restore back the whole system.
- Be careful when editing the MSCONFIG boot tab; remove only the windows 7 one not the Windows Vista (or current OS).
- If have doubt clear it before action so that you don do blunders.
Subscribe To Get FREE Tutorials!


